Written by : humayrarumaysa
Title : the making of a headboard
the making of a headboard
It is with great (design) embarrassment that I admit to you that we do not have a headboard in the master bedroom.... and to be even more honest, we do not have a bed-skirt either. The box spring and mattress on the metal frame is in full sight when you walk into the master bedroom... oh the horror of it all!!!
I have excuses.... would you like to hear them??
please cue the violins....
Doing a major renovation is exhausting- mentally and emotionally. When I finally got around to designing the master bedroom I just ran out of steam. I make big and tiny design decisions about the farmhouse each and every day, but the master bedroom has thrown me for a loop! I've been paralyzed with indecision.
And, since Dan was going to make the headboard for me I've also proven to be ineffective in my nagging! Even using the line " Ella would really like it if you were to make the headboard " hasn't worked...
That is a joke around the house as years ago in Dallas I came up with the project of taking down a brick wall that enclosed our terrace and putting in an iron railing to open up the view of the yard from the house. We even found the perfect vintage railing at a flea market, but for months I couldn't nag talk Dan into doing it.... until one day when I casually mentioned to him that, our then puppy-dog, Kelsey would really like it if that railing was there instead of the bricks so she could see into the backyard from inside of the house. And, I'll be damned if he didn't, that very day, go outside and start taking the brick wall down!!!
But, again- even that technique wasn't working with the headboard.
But, again- even that technique wasn't working with the headboard.
end of excuses.
Having several carpenters around the house every day working on the barn renovation proved to be the answer.... we gave this project to one of them! I'm happy to report that the master headboard is in the works (literally as I write!)
During Phase I of the farmhouse renovation we took down a wall giving us a very nice size master bedroom. The bed sits on one full wall, and I wanted the headboard to have a rather large presence in the room. I contemplated an upholstered headboard, which I have used in the past and loved, but decided I wanted the element of wood on this wall.
Months ago we bought these large antique wood gate posts (each made from a single log; in other words not pieced together in any way) thinking they would make perfect headboard posts.

Being that they were turned on a lathe you can see how they are slightly different. While I love that feature from a uniqueness aspect, it is making it a bit tricky for the carpenter. The posts will be cut to make the tops of the finials level to one another.

I have had this Viva Terra Gustavian headboard saved in my design files for a long time. I love the lines of this piece, so this is the inspiration for the shape of the headboard.
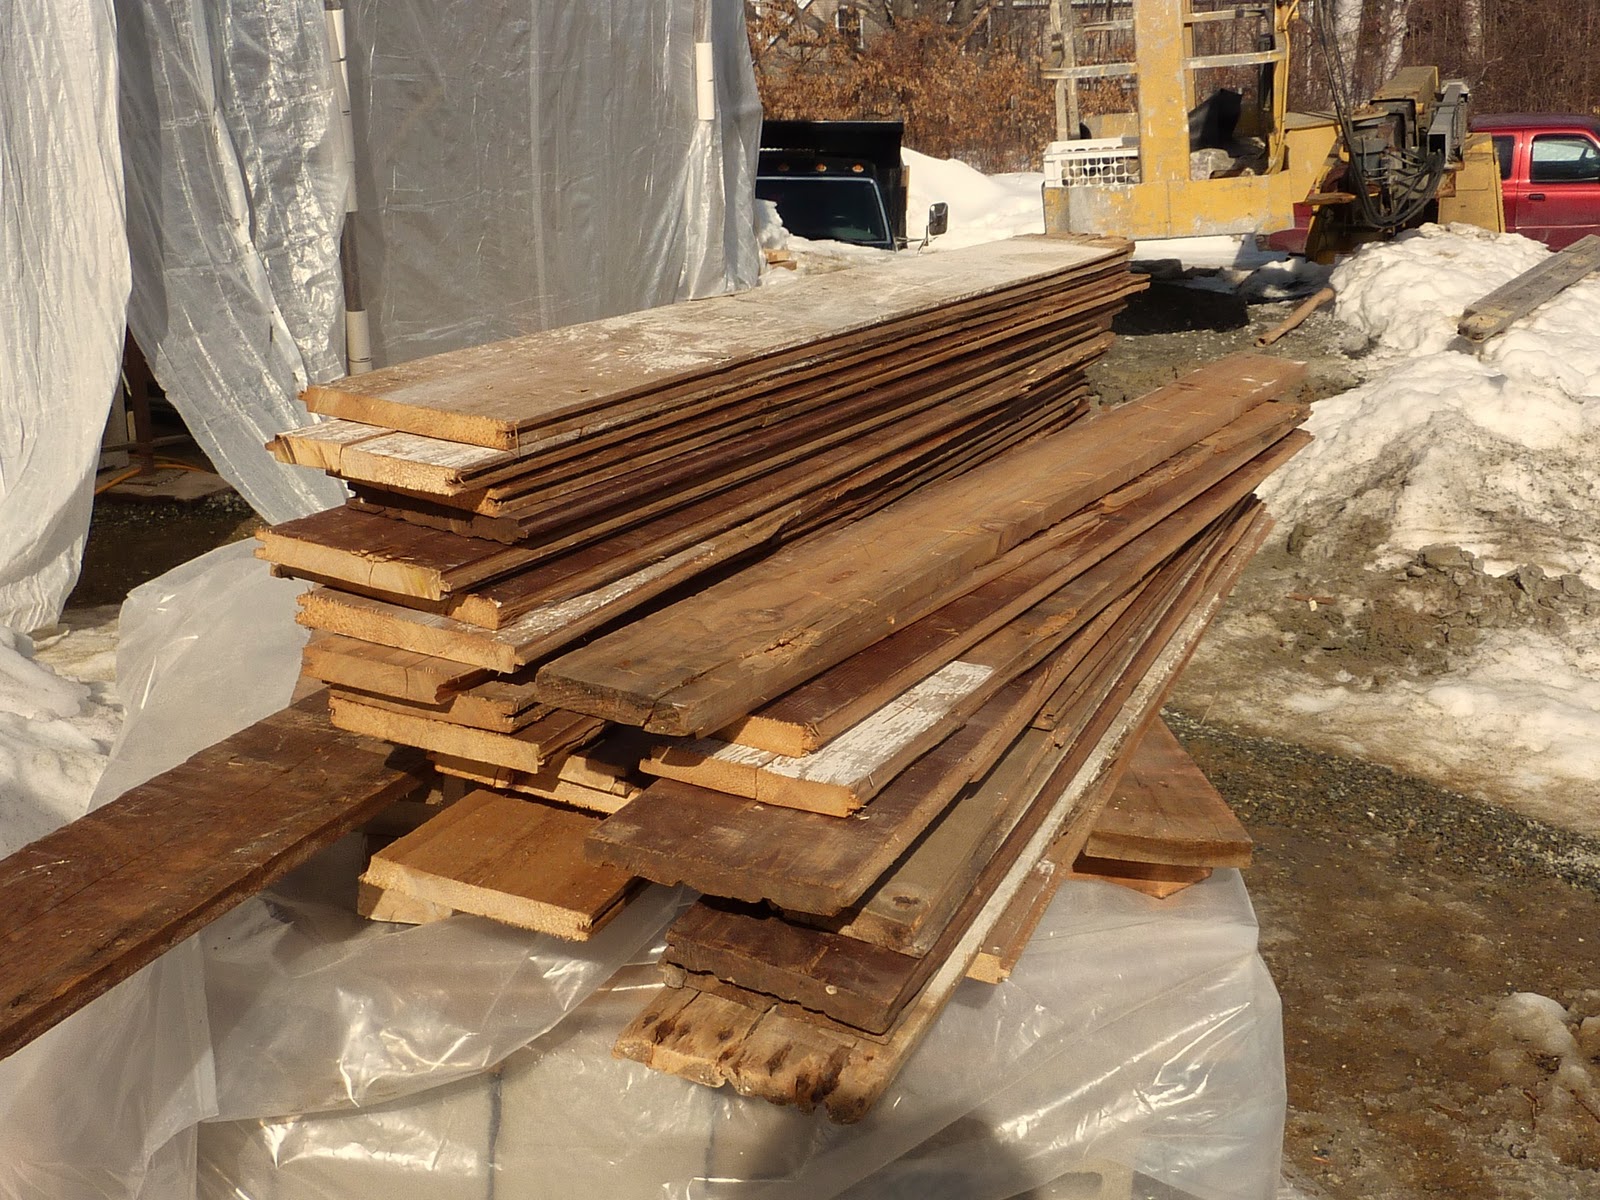
The headboard will be made from reclaimed barn boards from our barn renovation.

My original plan was to take the above inspiration photo to our library and use a projector to trace out the headboad to a king size. Turns out our carpenter is skillful at drawing and he did it free hand, making changes as we went- a larger curve here, a different angle there, etc...
In this photo Dan is helping the carpenter trim out the initial design so it can be reversed over to the opposite side.


Using the large garbage can on the left for reference, you can see how tall the wood posts are in this photo.

Testing....
Looking closely you can see the pencil outline of the shape of headboard drawn on the paper. After seeing the design upright the top didn't have the right curvature that I wanted, so it was adjusted.

In this photo the final design is stapled to a piece of plywood. The plywood will be the structural base that the finished barn boards will be attached to for rigidity.

The design being cut out on the plywood.

The edges being sanded down.

Isn't she a pretty little thing?!!

The posts being measured and leveled for cutting (leveling).

The salvaged barn boards that will be used for the body of the headboard.
The barn boards being clamped together before attaching.

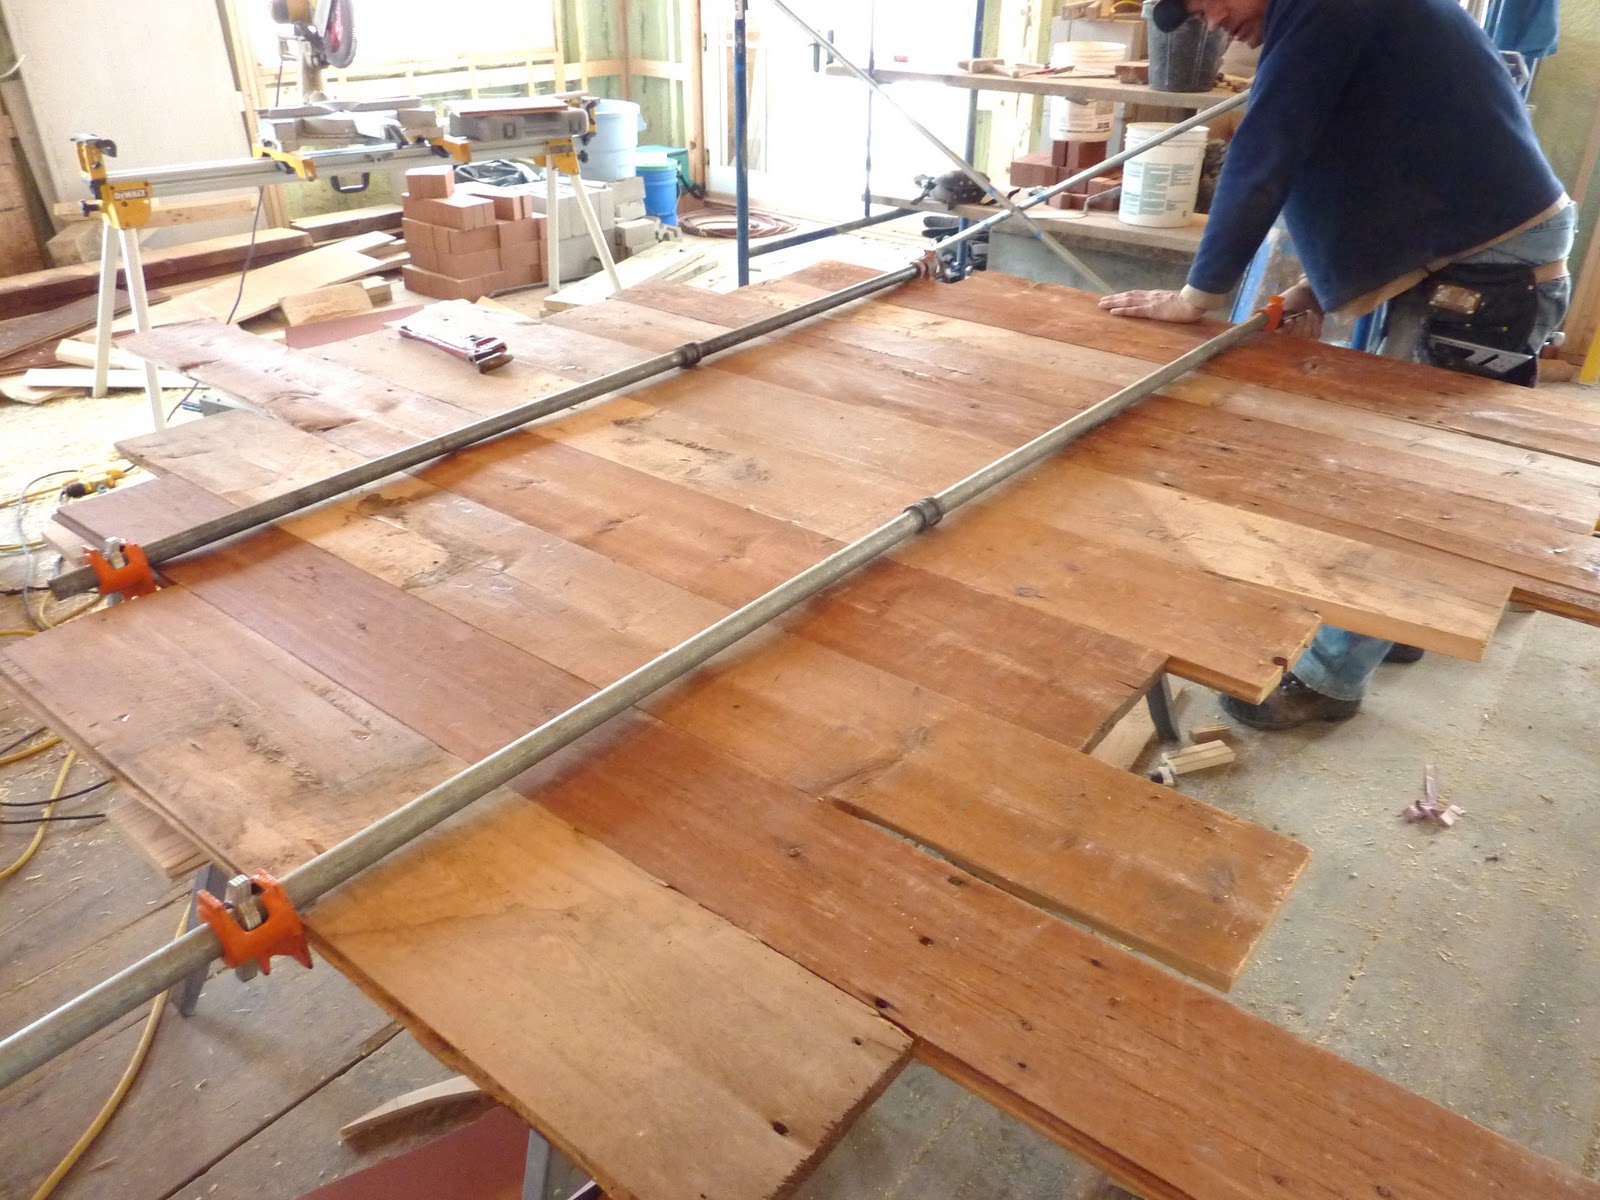
Boards attached from the backside.

Since the headboard is a work in progress I will add more photographs to this post today and tomorrow to keep you up to date!
Oh... and please feel free to make me feel better and tell me of the design projects you just can't seem to get finished!!
thanks, I feel better already knowing I'm not alone!
Friday's update:

Dan helping!


Love!

Sanding the finish boards. (be sure to note the mason working in the fireplace!)

Attaching the posts.

ta-da!!

Now, it's my turn on the project.... time for the finish!
The carpenter suggested I just leave it as is and put a clear-coat on it, but I'm thinking he might be one of those husbands who won't let his wife paint the stained paneling/moulding!! The master bedroom is a grey, so I'm going for a "driftwood" finish.
I'll let you know how it turns out, but for the record... I'm not as fast as the carpenter!


Thus our article entitled the making of a headboard,do you like the article hopefully this article can benefit you all.
You are reading the article the making of a headboard and this article the permalink url is http://humayrarumaysa.blogspot.com/2011/02/the-making-of-headboard.html Other articles you are looking for xxxxx